ACH Setup |

|

|

|
|
ACH Setup |

|

|

|
|
|
||
ACH Setup
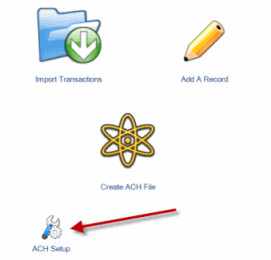
Access the ACH Setup Wizard by either:
--from the ACH Universal main menu selecting File > ACH Setup, or
--clicking on the ACH Setup icon on the ACH Universal home page (below)
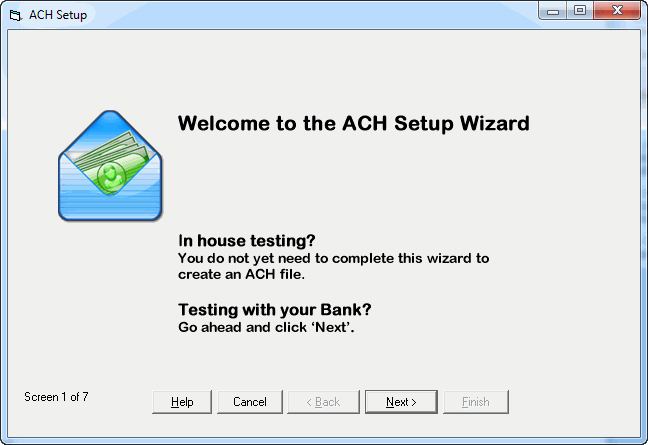
Welcome to the ACH Setup Wizard
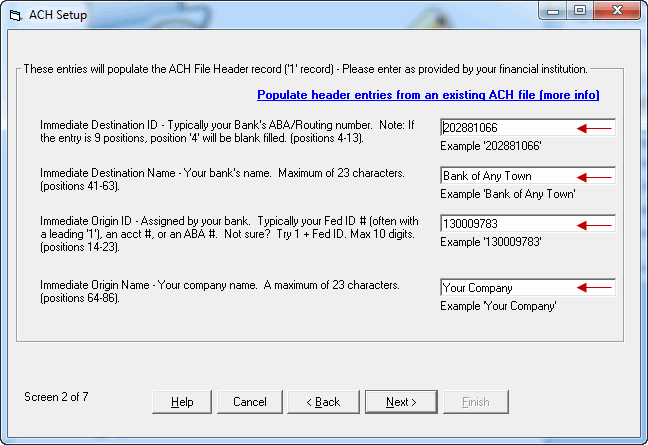
Enter the 'file header' info. This identifies you and your bank.
1. If you received this information from your bank, enter it exactly as noted.
2. Otherwise - if you have already created ACH files using Notepad or another software process, and you have access to this ACH file - ACH Universal can import the settings from that file. Simply click on the link 'Populate header entries from an existing ACH file'.
3. - Otherwise - you are going to enter this manually. Follow the text in the wizard.
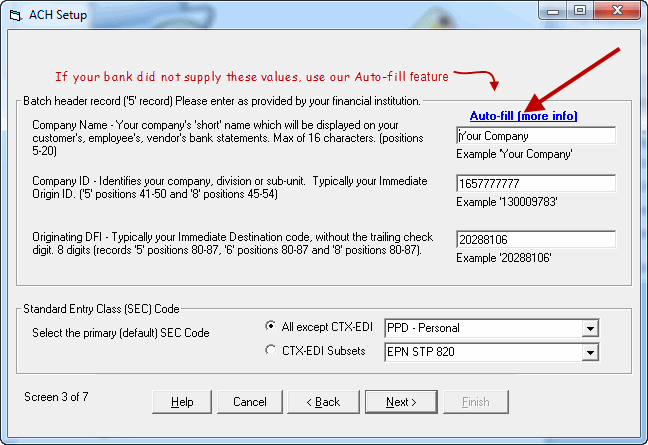
Enter the 'batch header' info. This is often a subset of the file header.
1. If you received this information from your bank, enter it exactly as noted.
2. Otherwise - if you clicked on the link 'Populate header entries from an existing ACH file', do not modify your entries. Your entries have been populated.
3. - Otherwise - if you entered the prior screen manually, click on the 'Auto-fill' button/link. This will populate your entries based on your earlier entries.
Leave the Standard Entry Class as defaulted (PPD), unless noted otherwise.
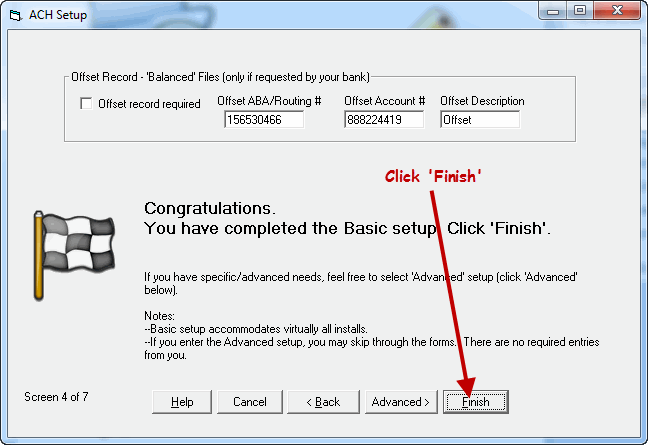
Finish the Wizard
If your bank requested a balanced file, or an offset record - check the box at the top of this screen and enter the information.
Click 'Finish' to save your work.
Next step - Create an ACH file - for testing or sending to your bank