ACH Setup
ACH Setup
In-house testing?
If you are simply performing in-house testing (such as IT testing), you can skip this step, as you can create ACH files without entering this information.
Testing with your bank?
If you will be testing with your bank - you will need to perform this step prior to creating the files that you send to them.
To start the ACH Setup Wizard select the 'Settings' tab > 'ACH File Setup'.
Note: If you are using a version prior to 2013. From the top menu select 'File' > 'ACH Setup'.
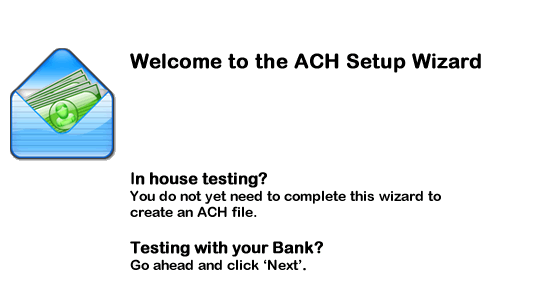
The ACH Setup Wizard will be displayed. Click Next.
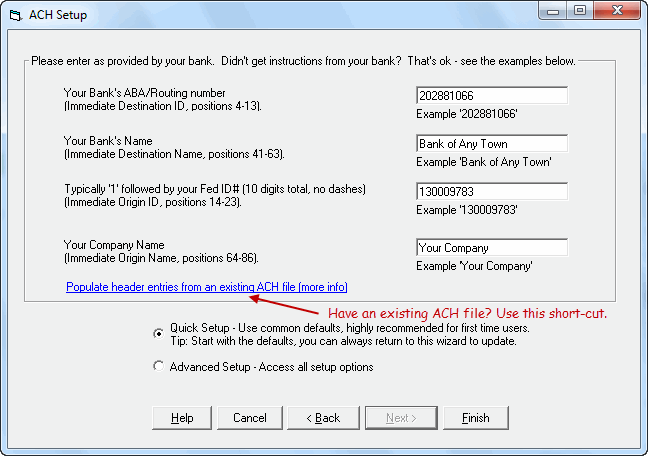
ACH File Header Record - Screen 2
The ACH File Header Record is the first record in the ACH file, and is identified by a '1' in the first position. It's primary purpose is to identify who sent the file (your organization) and where it is going to (your financial institution/processor).
If you already signed up with your bank for ACH service, this information will be in your welcome packet.
If you have been creating ACH files, but do not have the original documentation form your bank, ACH Universal can pull this information off of a file that you have already created.
If you have neither documents above, follow our guidelines within the wizard below. Of course, we can't guarantee compliance with your bank, but it is a very conservative approach to start.
Batch Header Records - Screen 3
Note: If you are using ACH Universal's Multiple Origination account feature in the Processor edition, this advanced feature will over-ride some of the values below.
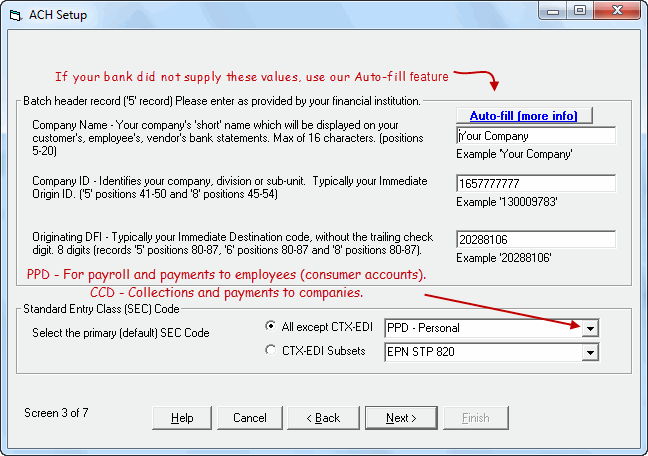
Which Standard Entry Class (SEC) code do I use?
If you have a standing authorization in writing to perform collections/payments, and the other party is located in the U.S., you may be eligible to use:
PPD - Personal/Consumer Accounts (Prearranged Payment and Deposit)
CCD - Corporate/non-consumer Accounts (Corporate Debit or Credit)
A good example is payroll to domestic employees - should use PPD.
Please consult your banker prior to insure that you are using the correct code.
Other formats that ACH Universal supports are available at SEC Codes.
Offset Record and completion of Basic setup - Screen 4
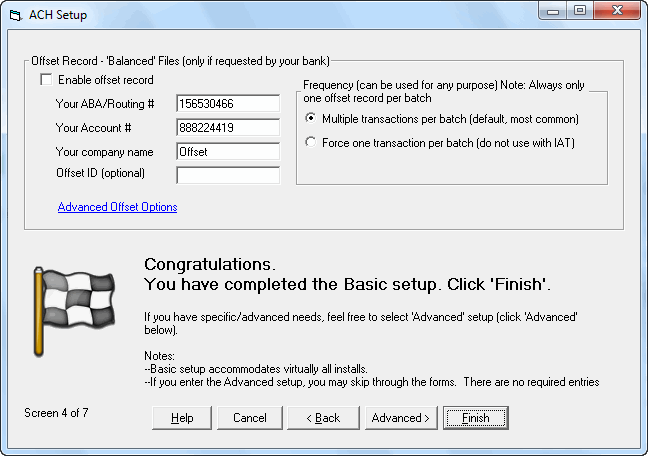
Offset Record
If your bank requires an offset record, click this checkbox.
In Offset ABA/Routing #, enter the ABA or Routing Number for your organization's bank.
In Offset Account #, enter your organization's bank account number.
Only use an offset record if your bank notifies you that it is required.
For the vast majority of users, you can click 'Finish' to complete the wizard. This will save your work.
If you have advanced needs, or are curious as to the additional settings, click 'Advanced'.
Preferences - Screen 5
Company Entry Description - In the Default Text field, enter the description of the transaction that will show on customer, employee, and vendor bank statements. For example, you might enter "Payroll" for a direct deposit payment to an employee. This entry is located in the ACH file in the Batch Header (5 record, positions 54 - 63).
Company Discretionary Data - Typically not entered unless requested by your processor or bank. This entry is located in the ACH file in the Batch Header (5 record, positions 21- 40).
Default effective date - select when you want the bank to process the transactions. For example, some banks want an ACH file two days prior to processing. In that case, change the dropdown to Two Days.
Notes:
--This setting only effects transactions when a date is not entered. Therefore, if you import a 'Date' field with your transactions, this setting has no effect.
--For maximum control, import a 'Date' with your transactions
--This setting takes into account Saturday and Sundays, but not holidays.
--The bank's rules determine the exact date of processing. Contact your bank for their exact policies.
When finished, click Next.
Third-party Processors and preferences - Screen 6
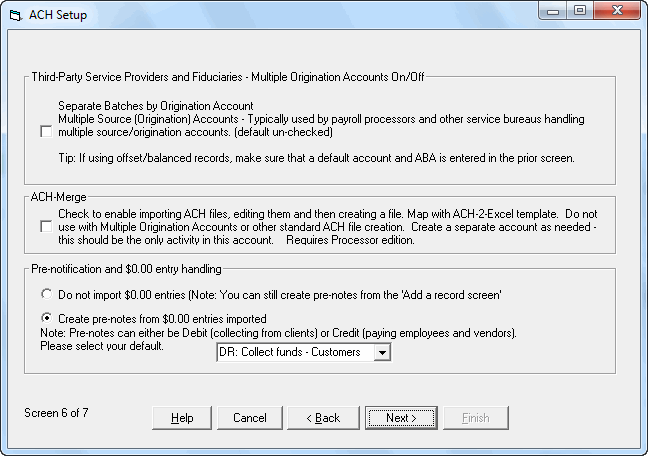
Third party NACHA compliance, and multiple origination account
Turn 'On' the feature here. Remember, when you turn it on, you will need to map an 'Origination Account' field during the import process.
Profile Lookup
ACH Universal has full support of profiles for creating payments. Profiles are not required by ACH Universal, however, as it is capable of ad hoc payments.
When using profiles, the lookup can be done by Name or by ID Number.
Profile Lookup - This setting only comes into play during the import process.
Checking or Savings Accounts
If your file contains a field that differentiates an account between a checking account and a savings account, enter the appropriate checking account text into the textfield. ACH Universal will interpret all other text as indicating a savings account.
Consumer or Corporate Accounts
Similar to Checking or Savings Account text above, use text in this field to identify a consumer account. All other text in that field will cause ACH Universal to treat the record as a corporate account.
Pre-notifications are used to test a transmission to ensure all settings are correct before transmitting live data. A pre-note is indicated in your data by a 0 amount. In the dropdown box, select the transaction type you wish to test (DR - collecting funds or CR - paying funds).
When finished, click Next.
Profile and Advanced settings - Screen 7
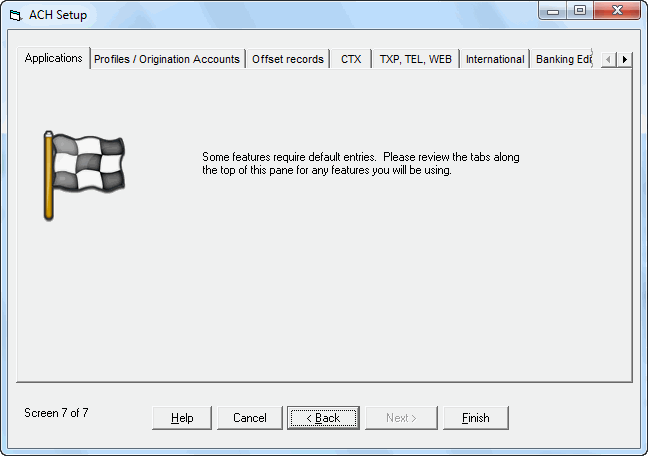
The next screen is the last screen in the process. In most cases, you can simply click Finish.
You have finished creating and setting up an ACH Universal account. You can now begin importing data into the account and transmitting ACH files.
Next Step
