Create and Transmit the Positive Pay File
Positive Pay File
Creating and transmitting a positive pay file to BMO Harris.
1. Select “Create File” to create the check issue file and begin upload process.

2. Click the Go To Create File Page and then click on Create Issue File to create the Positive Pay file.

The created file will be saved as noted in the third paragraph displayed on the screen above.
•The first paragraph on the screen indicates how many records will be included in the transmission file
(in this example, there are 605 records).
• The second paragraph indicates the selected transmission method. (This will always be Web Upload.)
• The final paragraph displays where the transmission file will be saved.
The default directory for the file is the C:\Users\Public\Treasury Software\To Bank
The default file name is the name of the account, followed by an underscore and the word ‘transmit’. The file will always have a .TXT file extension.
3. The program provides you the option to view the recently created file. Select the Yes button if you
want to view and verify the file format.

4. The Check Issue File created is displayed below.

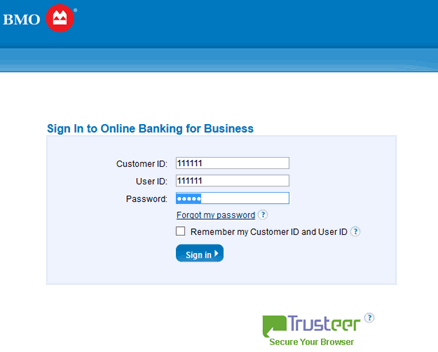
5. After file creation a web browser will then open to the BMO Harris Online Banking for Business (OLBB) login screen:

6. After you login to Online Banking for Business, select the Account Information tab and navigate to
File Transfer Facility (FTF).

7. Click Send File to initiate the file upload process.
• Select the appropriate Product and Document type from the dropdown menu
• Browse to attach your file
• Click Send File to upload your file.

8. To view a history of sent and received files, go to Account Information tab > File Transfer Facility >
File History.

