XML Importing Files
The process of importing files to create CTX-XML files is identical to the process of importing files to create CTX-EDI.
Note: If you are working in the Sample account - you have a demo file ready to import.
If you're not in the sample account, prepare an import file (and matching profile) with at least the following minimum fields:
--Vendor name (which matches the lookup name in the profile)
--Amount/Paid
--Invoice Number
Of course, additional fields are available - Mapping CTX Files - Advanced
Please note that the field names are in EDI (EPN STP 820) syntax. This enables you to send EDI-based files to some vendors, while simultaneously sending XML to others.
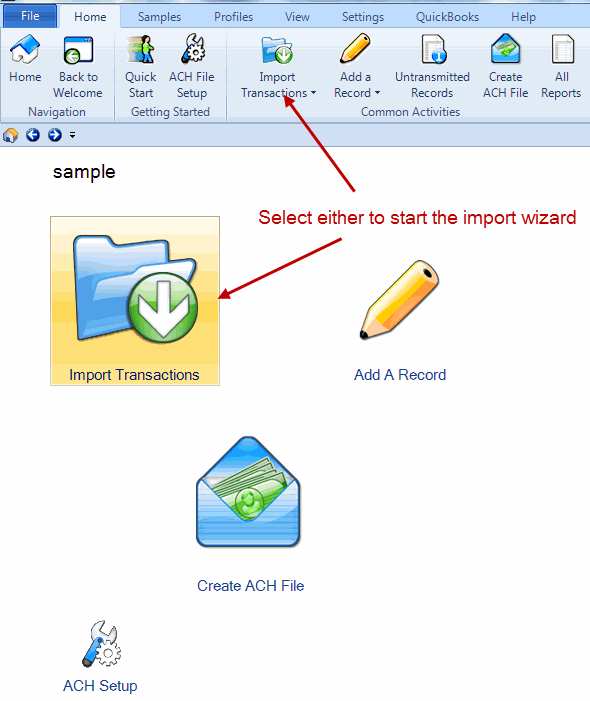
1. Start the Import Wizard by clicking either icon below:

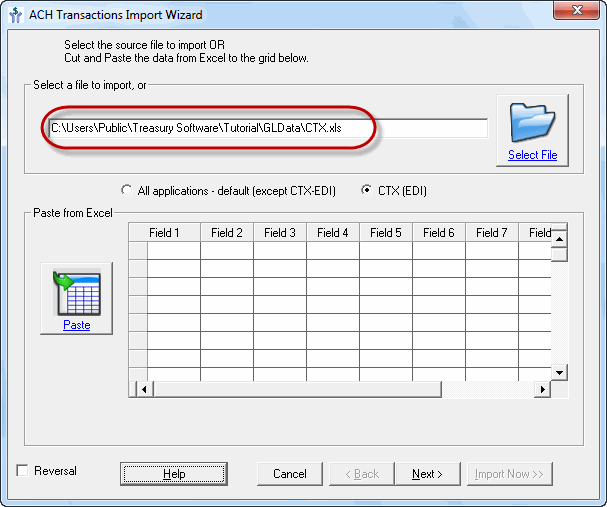
2. Select the file to import (or leave the default if in the Sample account)

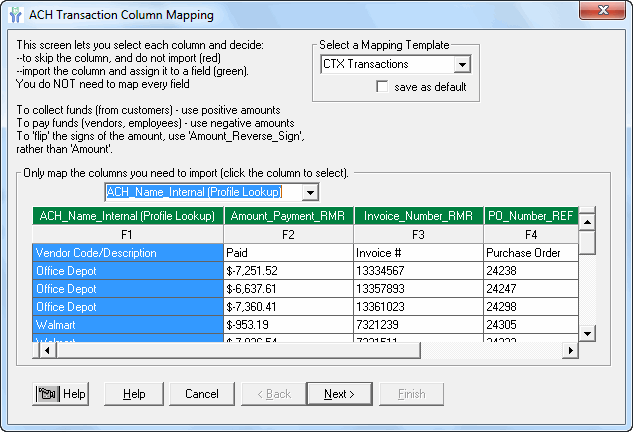
3. If in the Sample Account - leave the default settings. Otherwise, map as needed.

ACH_Name_Internal (Profile Lookup) - You should already be familiar with - this populates the payees name in the payment line, as well as provides as a 'look-up' field to the Customer, Employee and Vendor table.
Amount_Payment_RMR - Map your detailed invoice amounts using this field.
Invoice_Number_RMR - Map your detailed invoice numbers using this field.
PO_Number_REF- Map your Purchase Order numbers using this field (optional).
4. Click 'Next', 'Finish' - to complete the Import Wizard.
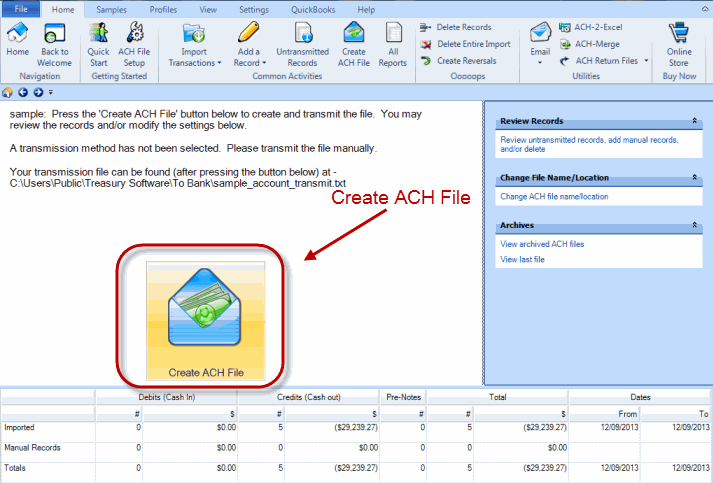
5. Navigate to the Create ACH File page, and click 'Create ACH File'
You can now view the completed file.

