Create and Transmit File

Contents
Create and Transmit ACH File
You are now ready for the final step: creating the ACH pay file and transmitting to the bank.
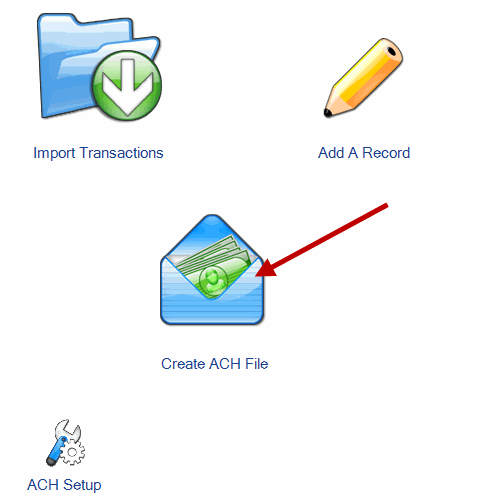
Click the Create ACH File button in the center of the homepage.
This will take you to Create ACH File Page (see below)
The first paragraph contains basic instructions on how to proceed.
The second paragraph lists the transmission method.
In most cases, you will upload your file to your bank through their website. Your bank will provide you with instructions for doing so.
The third paragraph displays where the Transmission File will be saved. The default location for the file is the C:\Program Files\Treasury Software\Treasury Desktop\To Bank directory (on XP) or C:\Users\Public\Treasury Software\To Bank (on Vista, Windows 7 and Windows 8). The default file name is the name of the account, followed by an underscore and the word ‘transmit’.
The Review Records link on the Right Side Explorer Bar allows you to access the Reports Section for review or deletion of Records
Click Create ACH File to create the file.
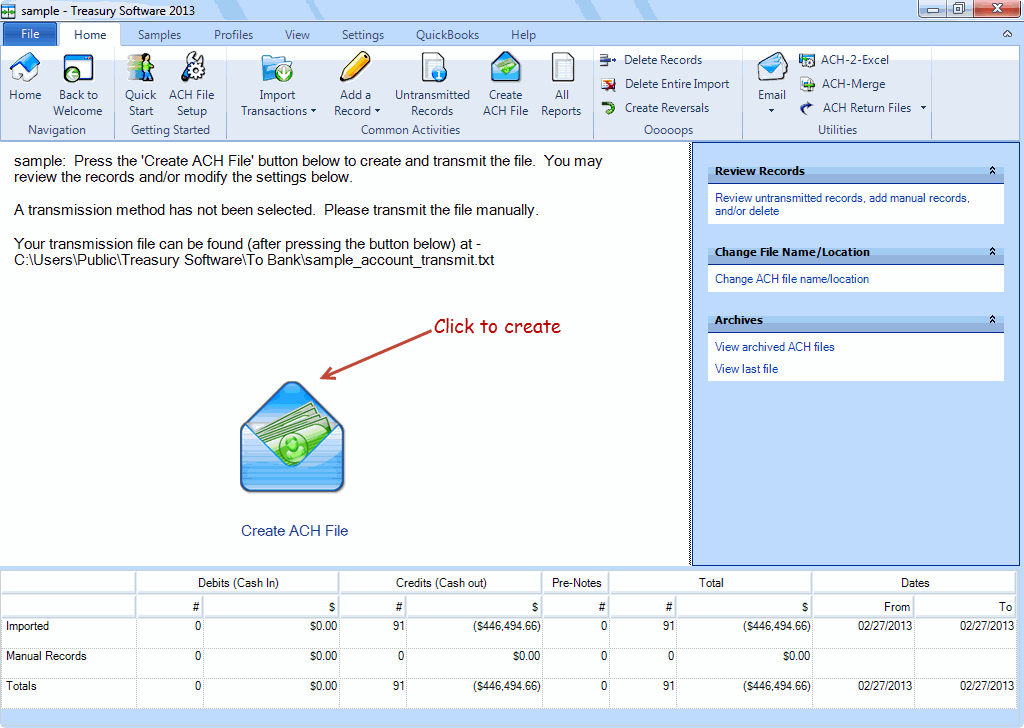
Once you click on Create ACH File, ACH Universal will ask if you want to view the file. Select Yes if you want to verify the format or review the file. Otherwise click No.
At this point, transmit the file to your bank using their procedures.
Congratulations! You have completed your first ACH file transmission.
If you have any questions, please consult our FAQ. This contains answers to many common questions from first-time ACH Universal users.
Next Step
Review our FAQ for answers to many common questions.
Next: FAQ >>