|
|

Account Creation |

|

|

|
|
Account Creation |
|
|

|
|
|
Account Creation |
|
|
|
|
Account Creation |
|
|
|
|
|
||
Overview
Account Creation is the first step in the process of creating an account for your company data in ACH Universal.
Create Account
Select File from the main menu, then New Account. You will see the Account Creation Wizard (Figure 1 below).
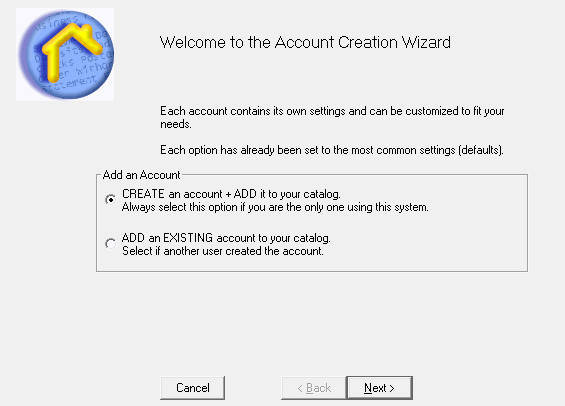
Figure 1 - Account Creation Wizard
The two choices are:
•Create a new account and save it to local catalog (most common choice)
•Open an already created account and add to local catalog
Leave the default and click Next.
Name The Account
On the next screen (Figure 2 below), name the account.
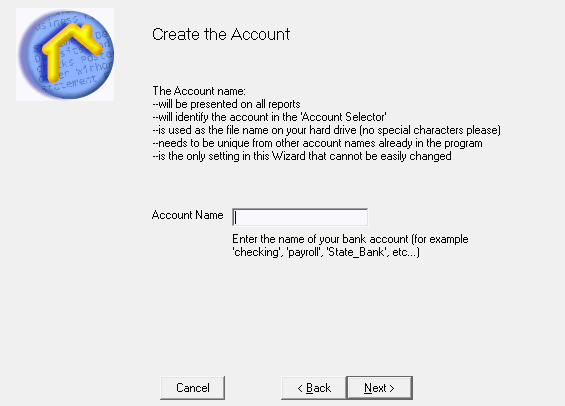
Figure 2 - Name Account
Best practice is to use a name that is descriptive of its purpose (for example, 'Checking' for a checking account instead of 'Account 1').
There are only 3 rules for names:
•Start account names with a letter, not a number
•Spaces are not allowed. Use an underscore or internal capitalization for clarity
•It must be unique from other accounts
Set Accounting Periods
On the next screen (Figure 3 below), set the accounting periods used for the account. Months, the default, is the most common choice. Note: May not be visible in all versions.
Click Next.

Figure 3 - Accounting Periods
Switch to New Account
The next screen (Figure 4 below) allows you to switch to the newly created account and begin using it or stay in the current account. You can always switch to the new account at any time later.
Click Finish..
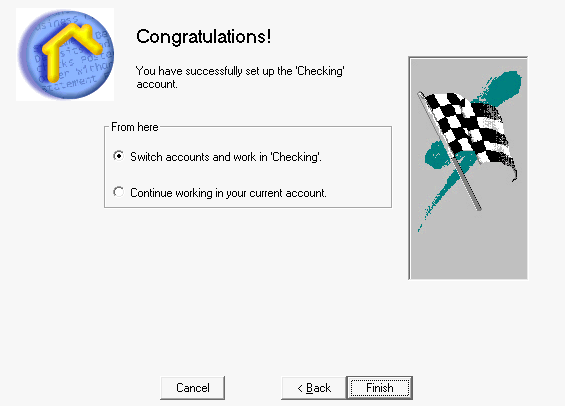
Figure 4
Proceed to Account Setup
The final screen (Figure 5 below) that appears during the account creation process allows you to proceed immediately to Account Setup (click Yes) or skip setup at this time.
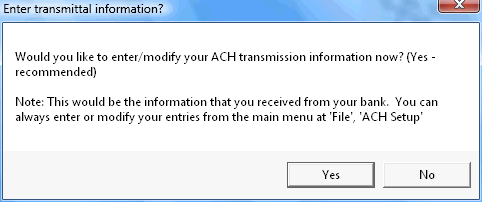
Figure 5
Next Step